KXUSBC2
KXUSBC2 & Side Panel Bundle
£78.00
Updates
Description
Credit
All credit for this fantastic innovation goes to Manuel, HB9DQM. Manuel has made the hardware and firmware freely available under the CERN-OHL-W-2.0 license.
Introduction (by Manuel, HB9DQM)
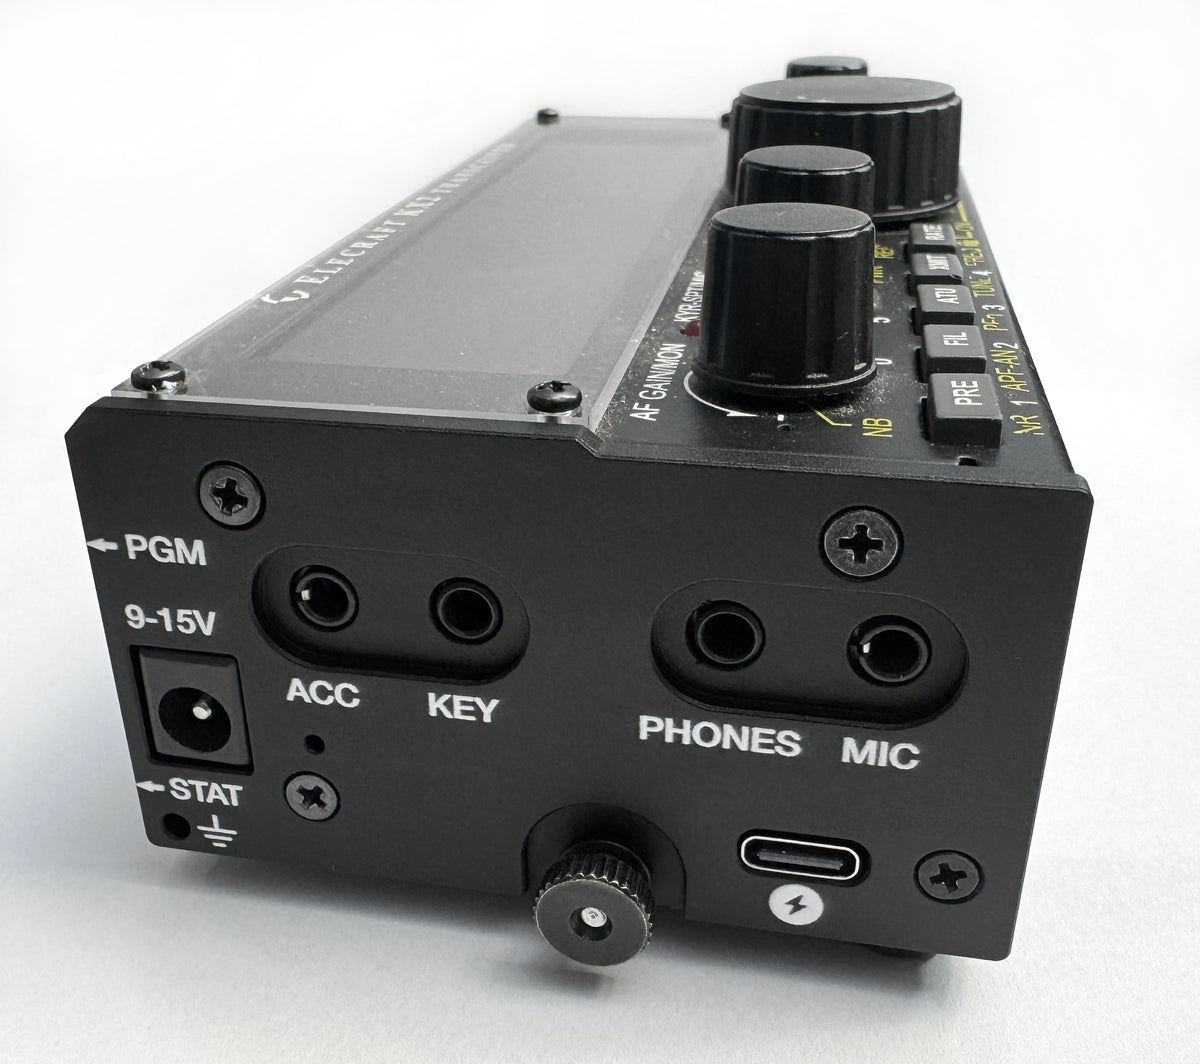
Have you ever forgotten to bring your KX2 charger on a trip, accidentally torn the speaker wires after countless battery removals, or found yourself with a dead phone battery on a summit while the KX2 still had plenty of power? I’ve managed all three. Each time, I wished the KX2 simply had a USB-C port — no more removing the battery, no special charger to pack, and the ability to top up a phone.
External power banks are awkward when operating handheld with the AX1 and may cause QRM. The KXIBC2 option still requires a specific AC adapter, charges very slowly, and cannot supply power to a phone. Perhaps the best solution until now was to bypass the KX2's built-in reverse-power diodes and connect an external USB-C charger. But with all of these solutions, you can forget something at home that you can’t buy on the go.
I prefer fully integrated things that are simple and foolproof to use. So I set out to design an option PCB that installs in place of a KXIBC2 or KXIO2 and adds a bidirectional (dual-role) USB-C port for charging and discharging the internal battery. In homage to Elecraft’s naming convention for KX2 options, I call it the KXUSBC2 — an unofficial option.
Reviews
Legal Bit
Installation
Shipping outside of the UK
Last updated: 2026-11-06
If you have a specific shipping requirement then please let me know.
All parcels will be sent via Royal Mail (48hr for UK) and International Tracked for international.
US
Duties and import fees will be calculated and collected at checkout so there will be no additional payments required, or delays in delivery.
Europe (supported countries only)
Due to the PPWR (Packaging and Packaging Waste Regulation) I've had to suspend postage to most EU countries. As a one-person part-time business I'm unable to fulfil the cost and legal responsibilities of the PPWR and EPR for each country I ship to.
I'm currently only shipping to the following European countries, all of which will have duties and import fees will be calculated and collected at checkout. This means there will be no additional payments required:
- Germany
- Netherlands
- Norway
- Switzerland
Everywhere else
Let me know if you don't see a calculation for duties and import fees and I'll attempt to add it. Otherwise, this duty calculator can be used to generate an estimate.